
See 5V, R, PBR, Classic Rib and corrugated panels, plus clear advice on screw replacement, sealants and butyl-tape seam repairs.
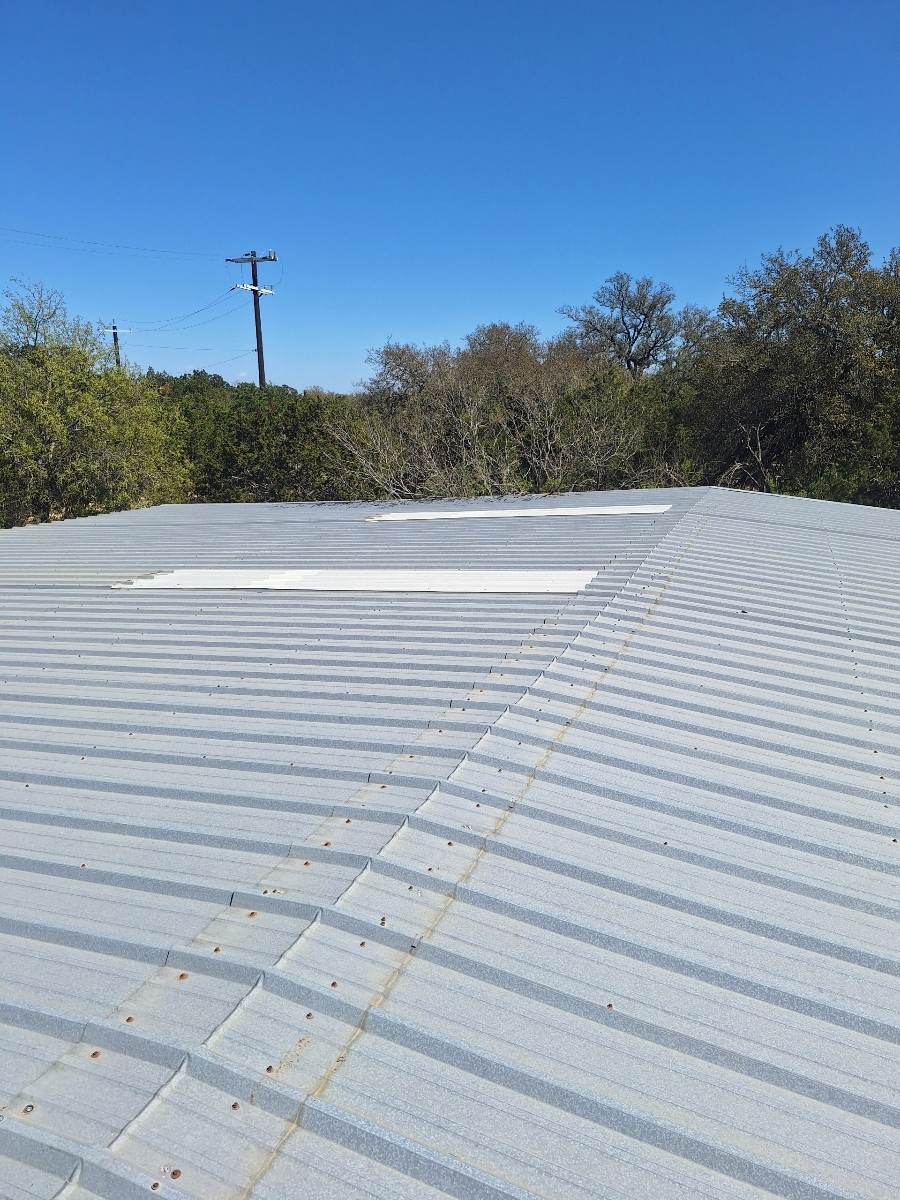
Exposed-fastener metal roofing uses visible gasketed screws to attach the panels. Also called screw-down roofing, it offers several distinct looks. Compare the profiles below, then plan for inspections and maintenance of screws, washers, flashing and sealed joints.
The cover is a Metal Sales Classic Rib rendering. Supplier drawings below show the actual profile shapes. They are product illustrations, not Barnes N’ Roofs project photos. We confirm the exact panel, finish, availability and roof suitability before quoting.
| Panel | Look | What sets it apart |
|---|---|---|
| 5V-Crimp / 5 Vee | Broad flat areas with narrow V-shaped ribs | Traditional house, porch and ranch appearance |
| R-Panel | Tall trapezoidal ribs | Bold utility and metal-building appearance |
| PBR-Panel | Similar face to R-Panel | Adds a purlin-bearing leg at the lap |
| Classic Rib / low-profile rib | Closely spaced raised ribs | Common home, barn and shop appearance |
| 2.5-inch corrugated | Rounded, repeating waves | A shallow corrugated option |
| 7/8-inch corrugated | Deeper rounded waves | More pronounced corrugated texture |
| U / PBU | Lower ribs than R/PBR | PBU adds the bearing-leg detail |
| Frontier Rib / Lap Guard | Low ribs with minor stiffening lines | CTMRS 3/4-inch ribs on 9-inch centers |
| Texas Rib / Channel Guard | Low, closely spaced ribs | CTMRS 1/2-inch ribs on 6-inch centers |
| CT 7.2 / structural rib | Deep, repeating trapezoidal ribs | CTMRS 1-1/2-inch ribs on 7.2-inch centers |
5V-Crimp: the traditional look
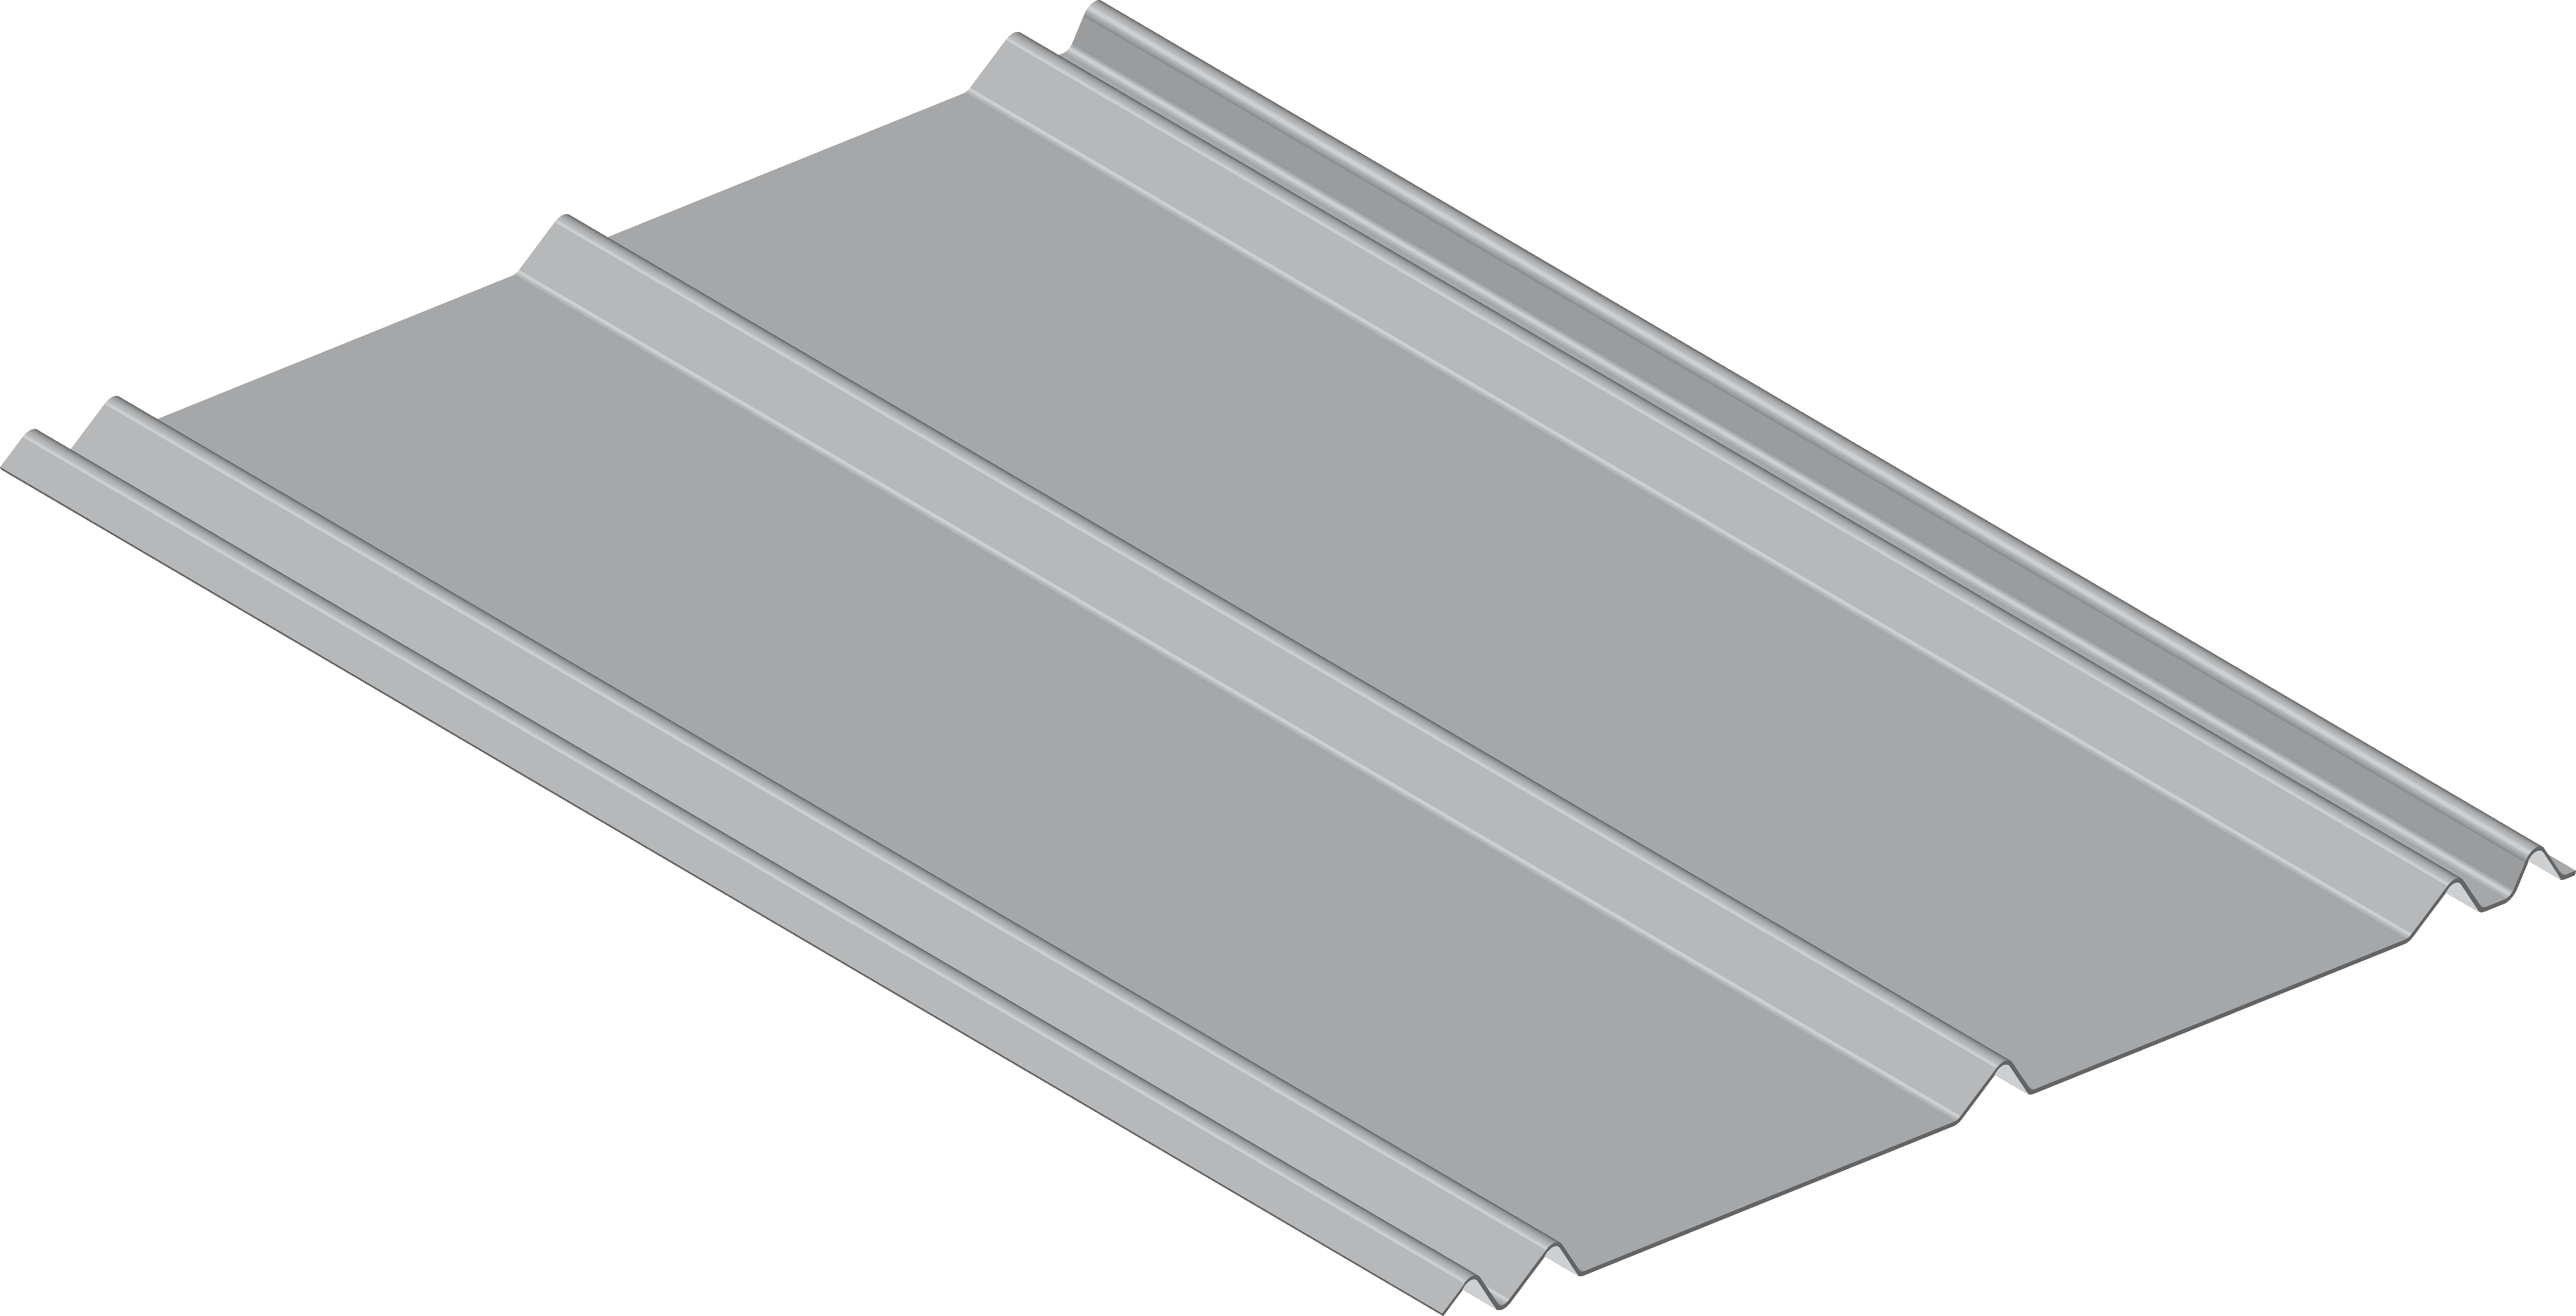
Metal Sales 5V-Crimp panel rendering.

CTMRS 5 Vee panel profile illustration.
CTMRS 5 Vee has 24-inch coverage and 1/2-inch ribs. Its narrow raised lines create a different look from corrugated roofing. The supplier recommends a solid substrate and a minimum 3:12 pitch for this particular product.
R-Panel versus PBR

Metal Sales PBR panel rendering with bearing leg.

CTMRS R/PBR profile drawing showing the optional bearing leg.
The visible rib pattern can look almost identical. PBR means the panel includes an extra bearing leg beneath the overlap. That detail helps support the lap; it does not make every gauge or support spacing acceptable. CTMRS lists 36-inch coverage and 1-1/4-inch ribs for its R/PBR family.
Ask for the exact R or PBR designation in the estimate. Do not assume a wall panel and roof panel with a similar face have interchangeable installation requirements.
Classic Rib and other low-profile panels
Classic Rib is a Metal Sales product name. Its rendering appears at the top of this guide. Montopolis lists Classic Rib with 36-inch coverage, 3/4-inch ribs and 9-inch rib spacing. Similar-looking panels from other suppliers are separate products with their own laps, accessories and instructions.
Montopolis metal roofing options
Metal Sales Temple panel range
Corrugated: shallow or deep waves
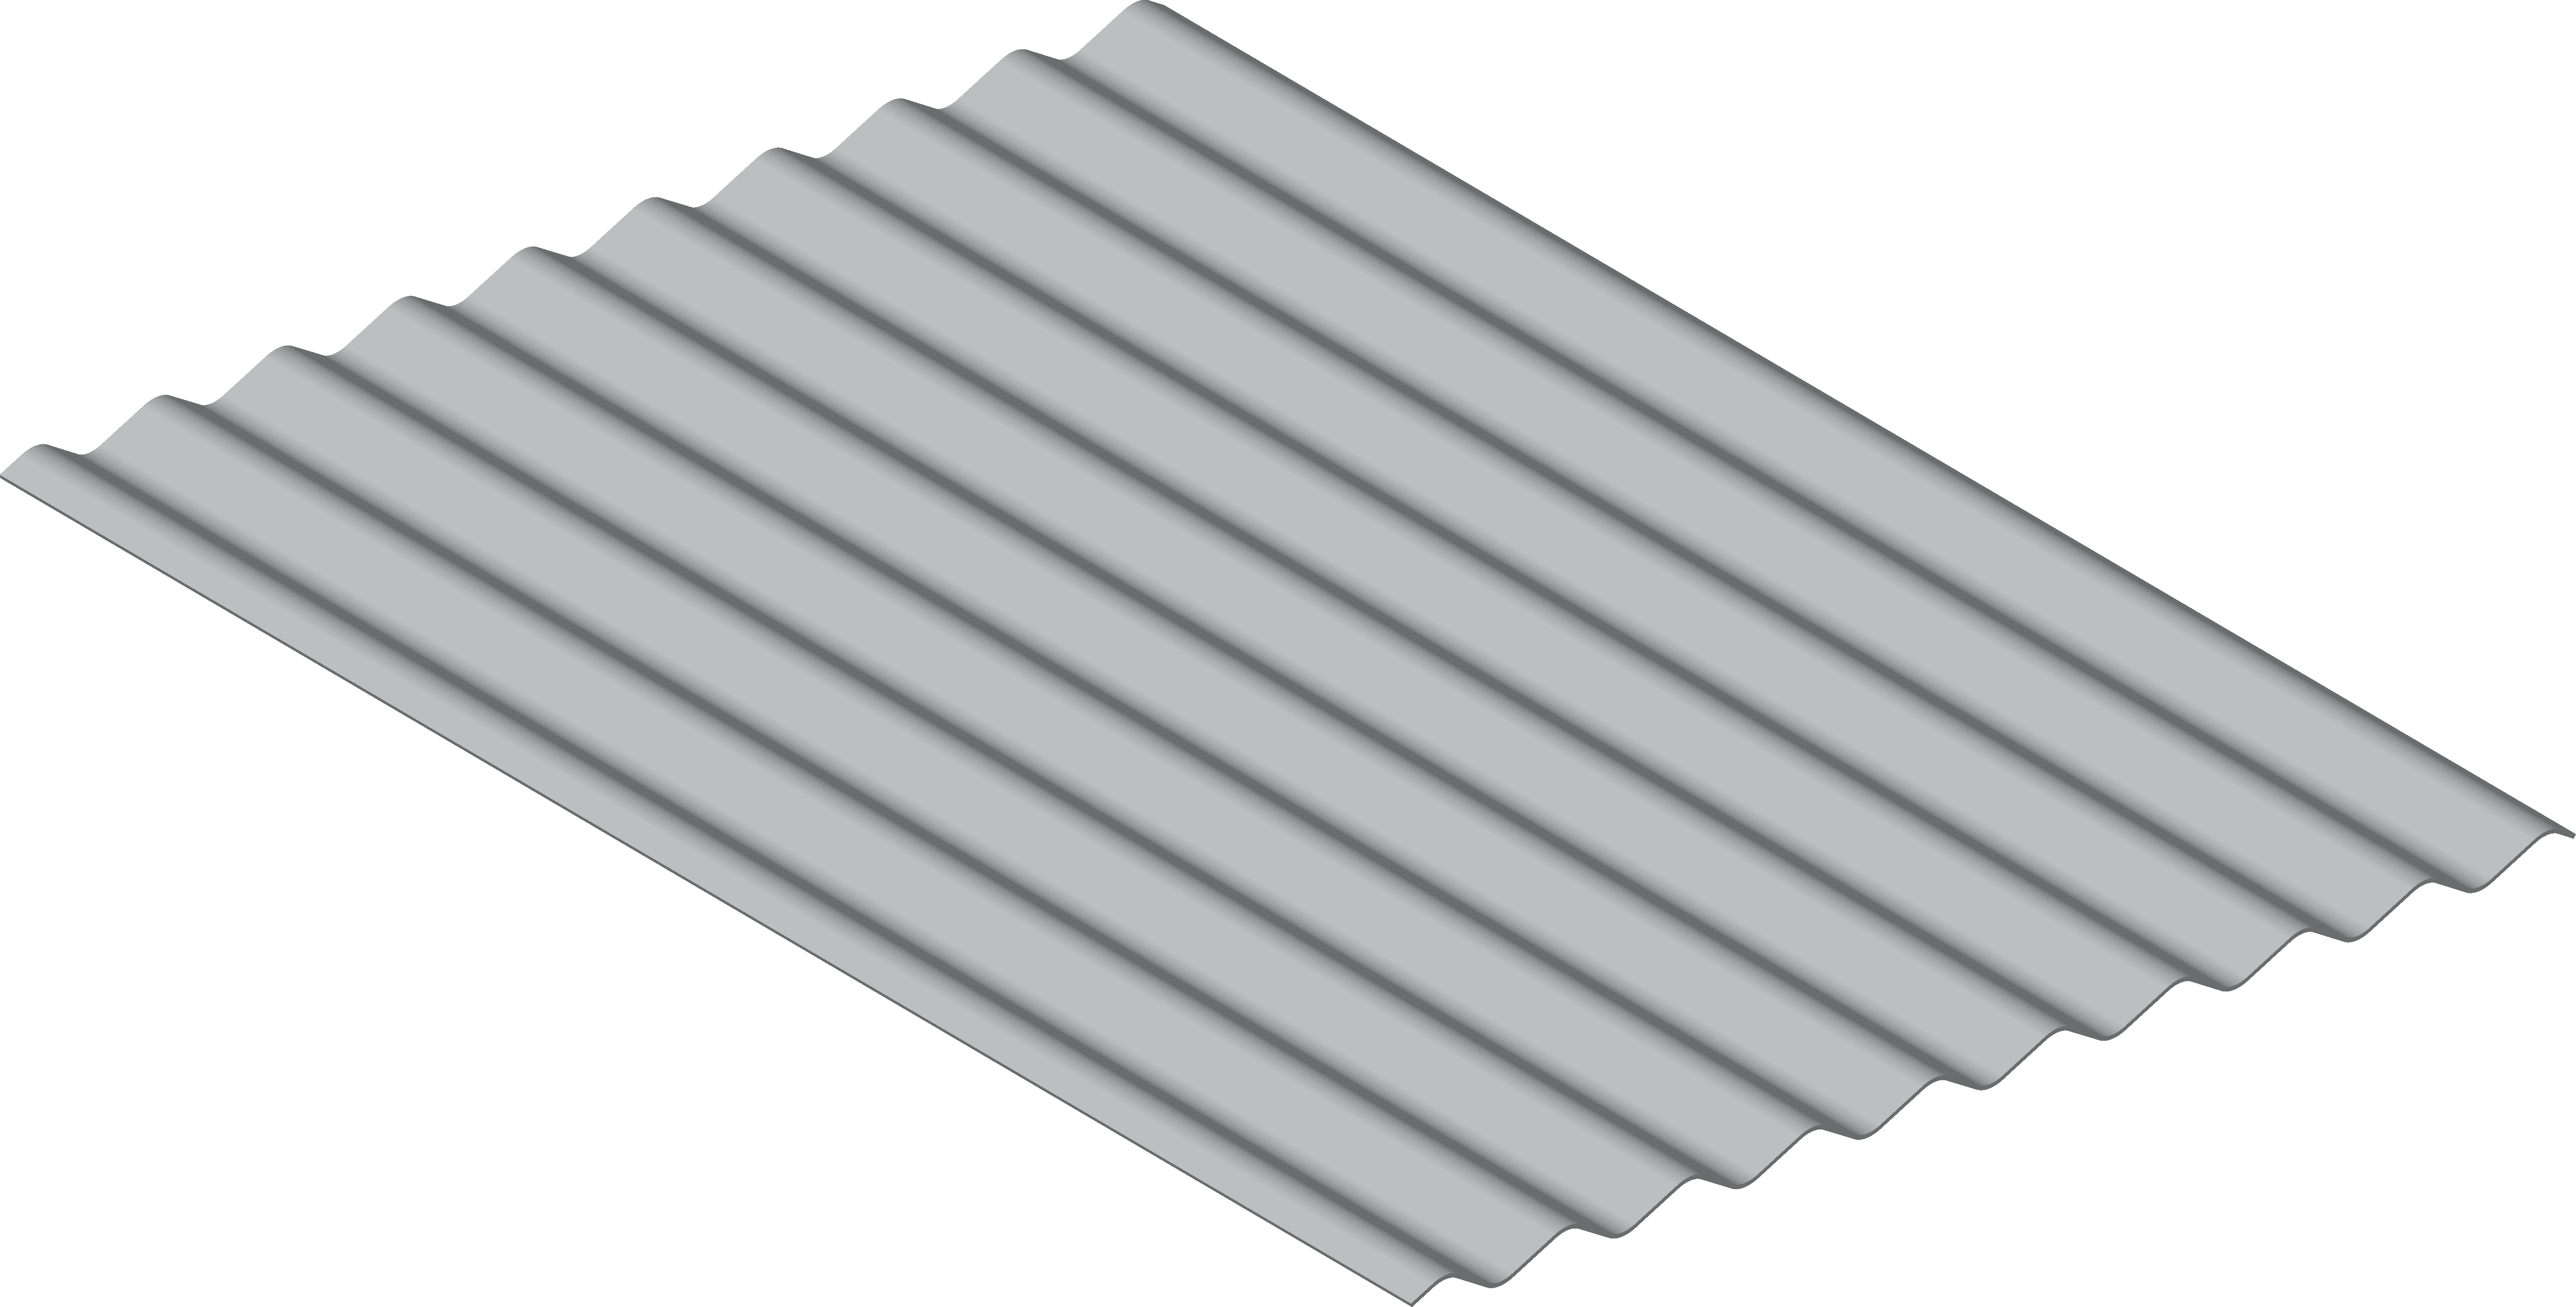
Metal Sales 2.5-inch corrugated roof panel rendering.
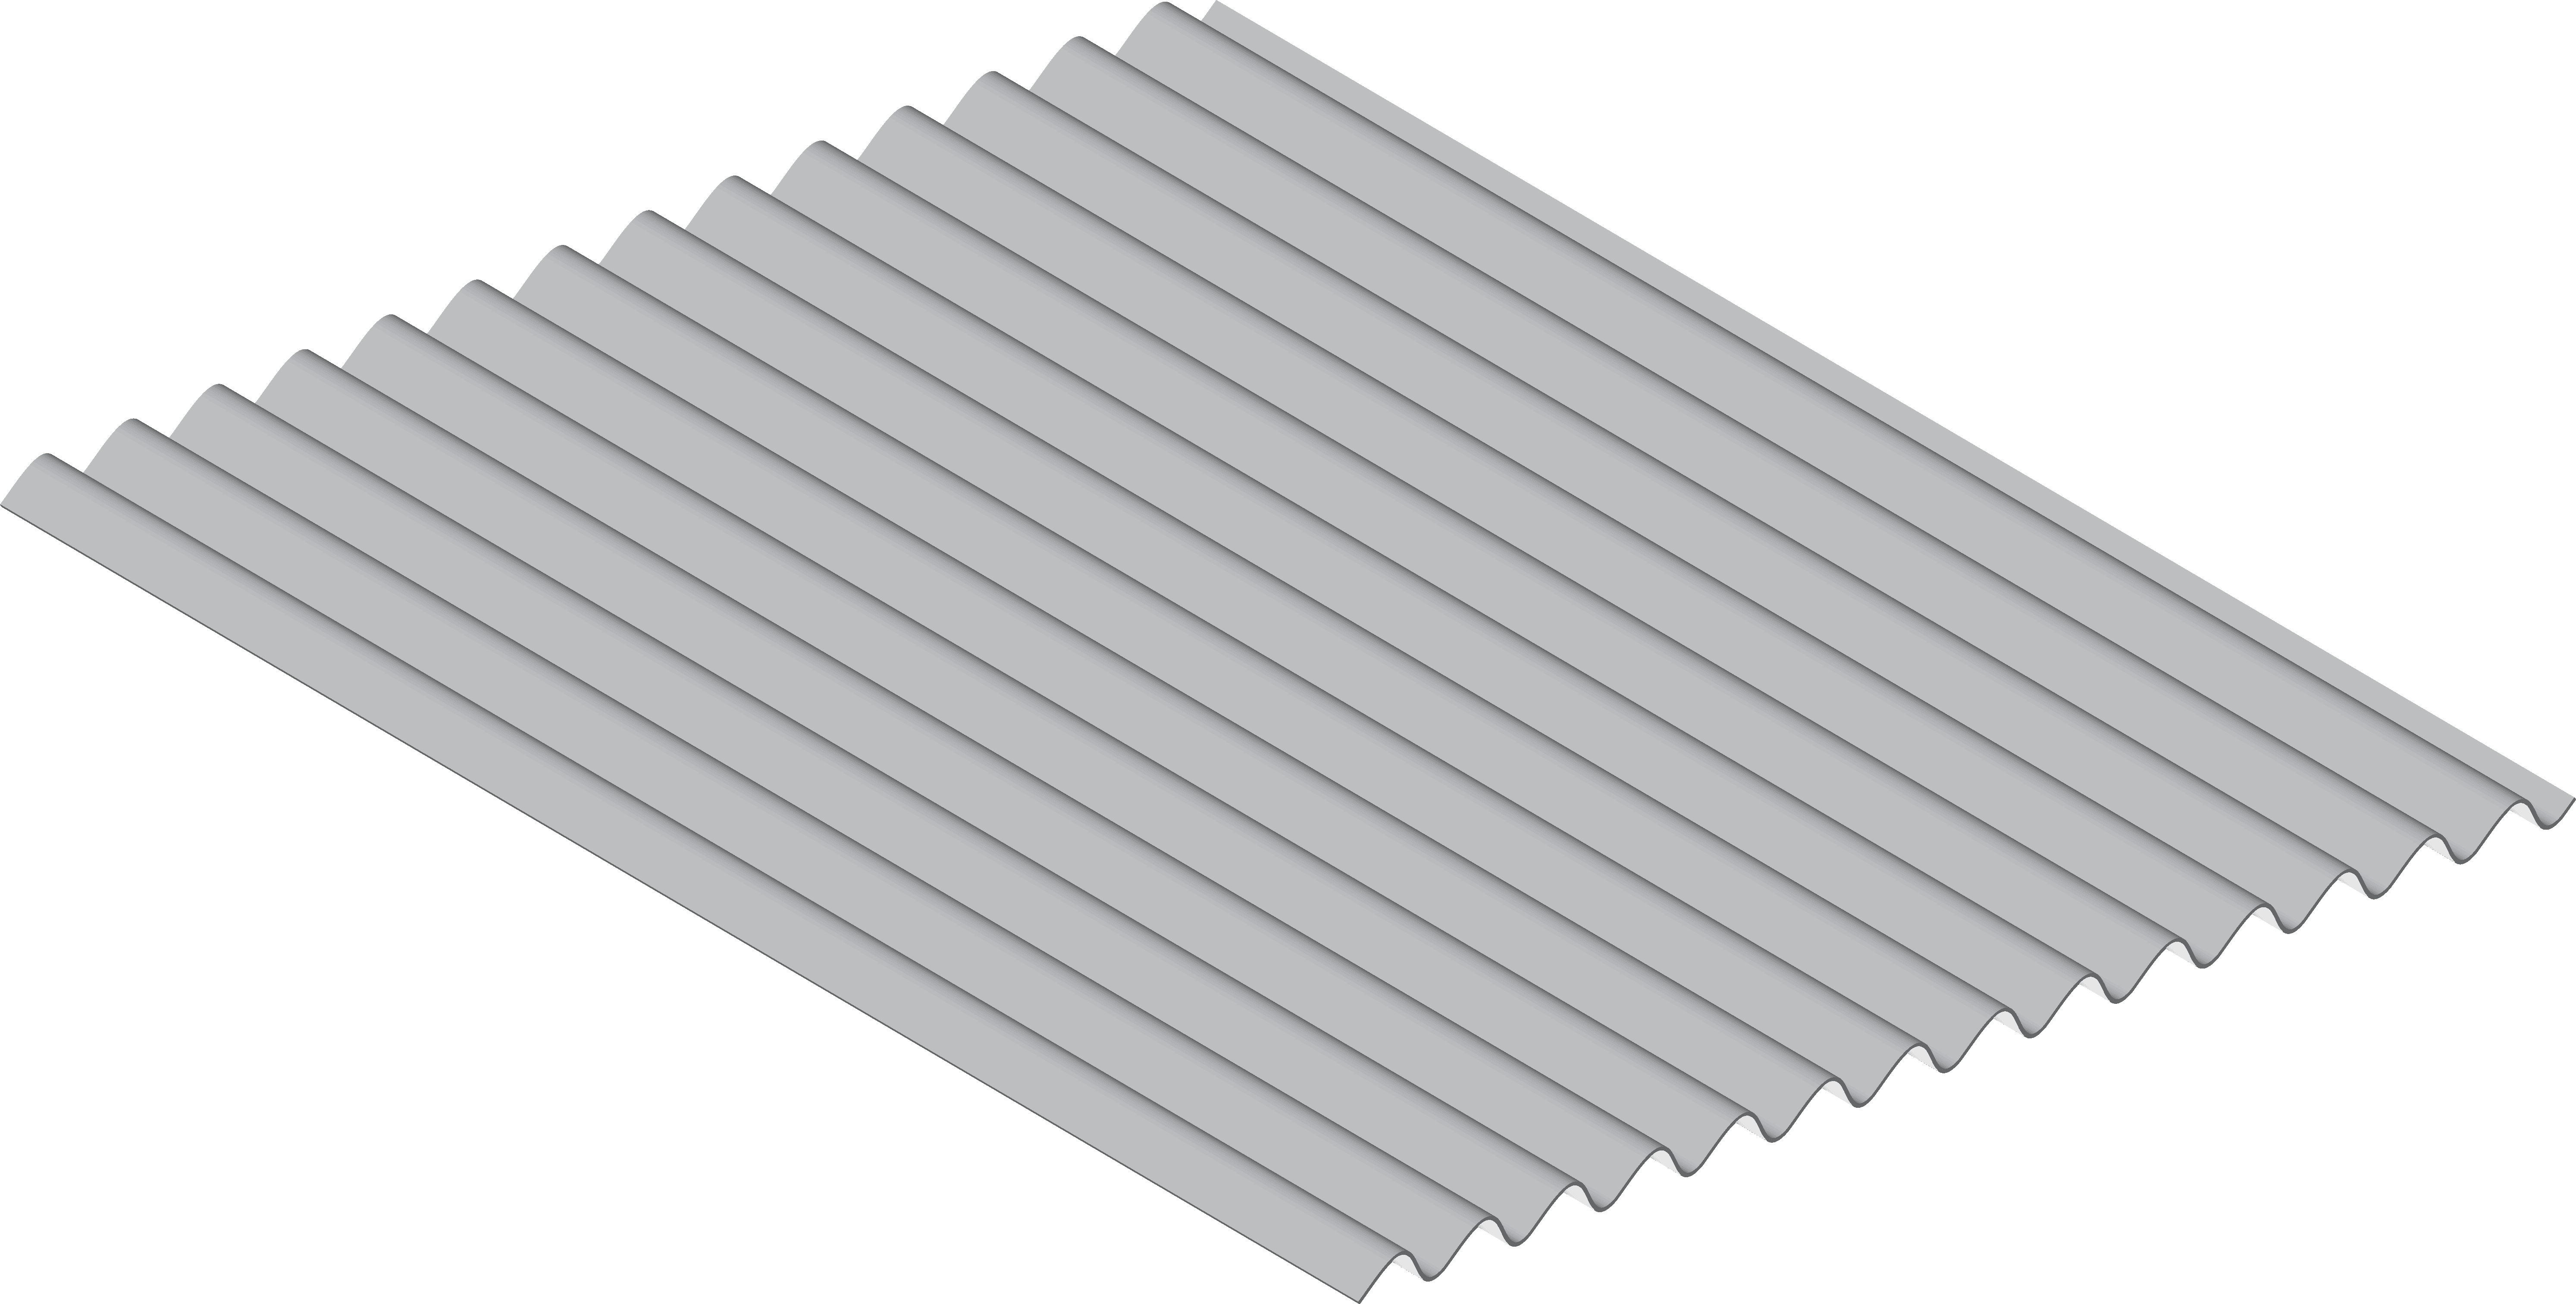
Metal Sales 7/8-inch corrugated panel rendering.
“2.5-inch” describes a corrugation spacing, while “7/8-inch” describes a depth. They are different ways of naming a profile, not two directly comparable depth measurements. Confirm both the rib depth and net roof coverage. A wider raw sheet does not necessarily cover more roof after the required overlap.
CTMRS also offers Com Cor, a 7/8-inch-deep corrugated profile. Check the exact supplier’s drawing rather than ordering by the word “corrugated” alone.
U-Panel and PBU

CTMRS U/PBU panel profile illustration.
CTMRS U/PBU has 36-inch coverage and 3/4-inch ribs. PBU includes the optional bearing rib. It produces a lower-profile appearance than R/PBR. Roof slope, support and sealing details still have to match the selected system.
Frontier Rib and Texas Rib

CTMRS Frontier Rib profile illustration.
Frontier Rib / Lap Guard: CTMRS lists 36-inch coverage, 3/4-inch ribs and 9-inch spacing. Its side-lap detail includes an anti-siphon channel. Keep the specified drainage detail open and use the matching installation instructions.

CTMRS Texas Rib profile illustration.
Texas Rib / Channel Guard: CTMRS lists 36-inch coverage, 1/2-inch ribs and 6-inch spacing. It gives a tighter rib rhythm. Both of these CTMRS products list a recommended minimum 3:12 pitch; that is not a universal rule for all exposed-fastener panels.
CT 7.2 and deeper structural ribs

CTMRS CT 7.2 panel profile illustration.
CT 7.2 has a stronger visual rhythm, with 1-1/2-inch ribs spaced 7.2 inches apart. CTMRS offers 28.8- or 36-inch coverage. Structural capacity depends on the complete tested assembly, including gauge, supports and attachment, not rib height alone.
Screw replacement: inspect first
There is no single replacement year that fits every screw-down roof. Inspect at least annually and after severe weather. Look for backed-out screws, damaged washers, corrosion, loose flashing and leaks. Have roof work performed by a qualified crew with appropriate fall protection.
| Finding | Repair decision |
|---|---|
| Loose screw; sound hole and support | Check why it loosened and restore the specified fastening condition |
| Cracked washer or corroded fastener | Replace with a compatible approved roofing fastener and sealing washer |
| Stripped or enlarged hole | Use an approved repair fastener or engineered repair after checking the substrate |
| Rotten decking or failed support | Repair the support; a larger screw alone is not the solution |
| Many failed fasteners | Compare a documented whole-roof re-screw scope with spot repairs |
Replacement screws must suit the metal, wood or steel support, required embedment and existing hole. Tightening until the panel dimples can damage the seal. A correctly installed washer is seated without being crushed or left loose. Do not adopt one screw position or spacing for every panel profile.
McElroy roof maintenance instructions
Re-caulking versus butyl tape
| Repair | Where it belongs | What to check |
|---|---|---|
| Compatible tube sealant | Specified flashing and exposed joint details | Failed material, clean dry surfaces, adhesion and coating compatibility |
| Butyl tape sealant | Specified concealed overlaps, closures and flashing joints | Correct size, continuous placement and compression inside the joint |
| Manufacturer-approved exposed repair tape | Only where its repair system permits | UV exposure, preparation, movement and warranty compatibility |
Do not simply smear new caulk over cracked, loose or dirty sealant. Identify the leak path first, remove failed material as appropriate, prepare the surfaces and use a sealant approved for the metal finish and joint. A failed pipe boot or loose flashing may need replacement rather than another bead of caulk.
Ordinary butyl lap tape is normally captured between mating surfaces. Renewing it may require carefully opening the joint, removing failed tape, cleaning, replacing the specified tape and reassembling with the correct compression and fasteners. It is not the same as sticking a strip across the outside of every seam.
Do not seal over an anti-siphon channel or intended drainage opening. Side laps, end laps, ridges and eaves have different details. Use the actual panel manual; a universal “caulk all seams” instruction can create problems.
Classic Rib installation and lap details
CTMRS trim and sealing accessories
A simple maintenance plan
| When | What to review |
|---|---|
| At installation or purchase | Record panel name, finish, fastener specification and warranty |
| At least annually | Inspect screws, washers, sealants, flashing, closures and drainage |
| After severe weather or a new leak | Arrange a prompt inspection and photograph findings |
| Before repairs | Get the materials, repair locations and warranty effect in writing |
| After repairs | Keep before-and-after photos and the completed repair scope |
What to compare in your estimate
Exact manufacturer and panel profile, including R versus PBR or U versus PBU.
Gauge, finish, color and net coverage, with a physical sample where possible.
Roof slope, deck or purlin condition, and the required attachment design.
Underlayment, condensation planning, closures, flashing and penetration details.
Screw and sealant specifications, future inspection needs and repair access.
Separate material, finish and workmanship warranties.
Compare exposed fasteners with standing seam
Request a roof inspection or estimate
Prepared by Barnes N’ Roofs. Technical information reviewed September 18, 2026. Illustrations are credited to CTMRS and Metal Sales; specifications and local availability must be confirmed for the quoted product. This is a homeowner comparison, not a substitute for project-specific installation instructions.